Arrival at Kansai International Airport (KIX)
Our adventure began at Kansai International Airport (KIX). From landing to collecting our luggage, the entire process took less than half an hour. A quick tip: make sure to fill in the Visit Japan web form to get your QR code before arrival. It speeds up the process significantly.
Navigating with Google Maps
Google Maps was our lifesaver for getting around Japan. It not only provides detailed directions but also tells you which entrance and exit to use and where to stand if you need to change trains or subways. This feature is incredibly useful in large stations with multiple entrances and exits. A neat trick we discovered is that Google Maps can show hotel names and addresses in Japanese, which is perfect for showing taxi drivers where you need to go.
Transportation: Mixing It Up
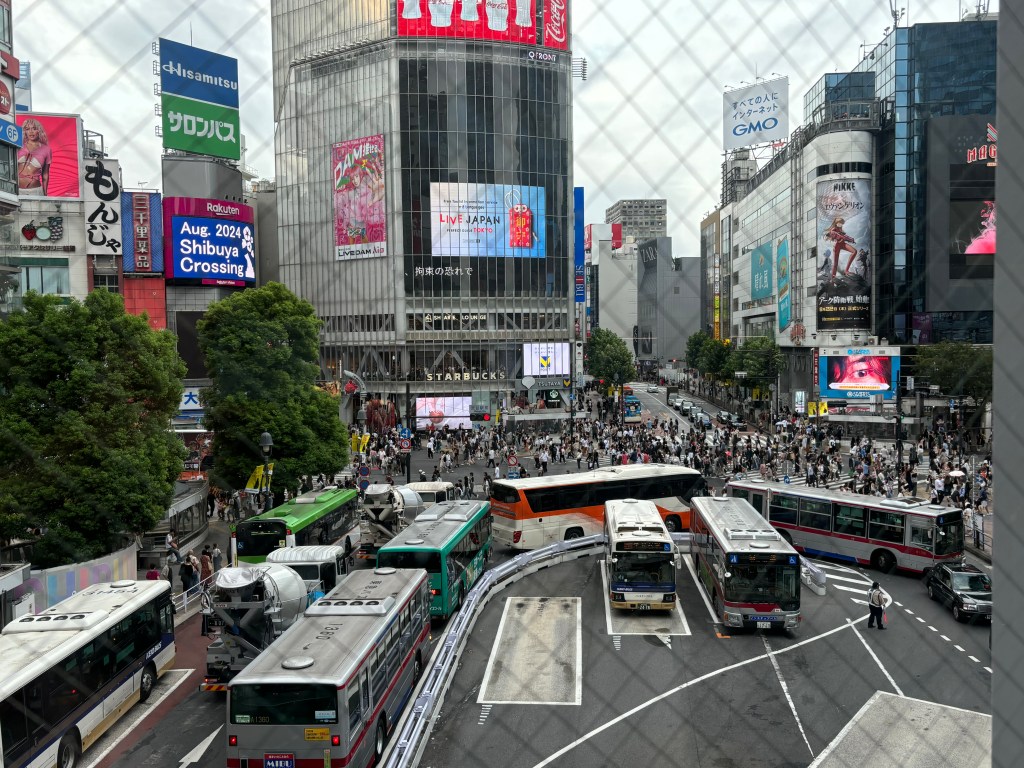
We used a mix of transportation ways during our trip. While we mainly relied on the metro, subway and trains, we opted for taxis when it was more convenient, like traveling from the station to our hotel with luggage or for short distances. For groups of four adults (even 2 adults and 2 children), taxis can be more cost-efficient for short trips. For example, in Tokyo, the fare starts at ¥500 for the first kilometer and then ¥100 for every 255 meters. In comparison, metro fares range from ¥180 to ¥280 per person.
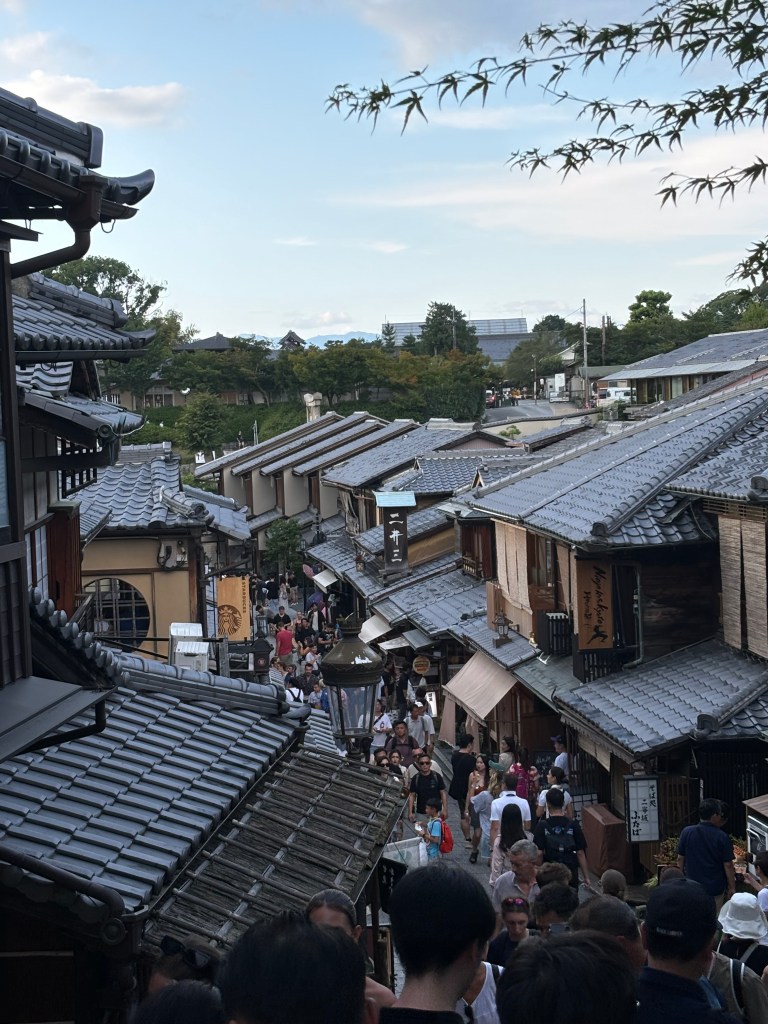
In Kyoto, we often used buses, which cost a fixed price of ¥230 per trip. In Tokyo, we planned our itinerary to combine metro and JR rail services. We purchased the 72-hour Tokyo Metro pass for ¥1500, which offers great savings if you take 3 – 4 metro rides a day. Google Maps makes it easy to find Tokyo Metro (indicated with a circle) and JR lines (indicated with a square), as the Tokyo Metro pass only works on the metro/subway.
eSIM: Convenient Connectivity
We each had a 10GB eSIM from Airalo, which was easy and convenient to install. After two weeks, we still had about 1GB left. We mainly used it for Google Maps, research, social media, and playing some games. Sometimes, my daughter would hotspot to my phone. The advantage over pocket WiFi is that you can go your own way and meet up later, without needing to remember to charge the pocket WiFi.
IC Card: Kansai One Pass
We got the Kansai One Pass, the tourist version of ICOCA. It can be used across Japan on trains, some vending machines, convenience stores, buses, and shops. It also offers discounts and benefits at attractions, restaurants, and shops across the Kansai region. You can use the ICOCA app to check your balance and track your spending on each trip. Unfortunately, you can’t top up on the app – only at stations or convenience stores. Be mindful that station top-ups only accept cash.
Always Carry Your Passport
Always carry your passport if you plan to do some shopping. In some shops, you can use the QR code you get when you register with the Visit Japan web for tax-free purchases.
Card and Cash: Be Prepared
Most places accept cards, so use them when you can. But, you need cash to top up your IC card at stations. Some small shops, street food vendors, and souvenir shops only take cash. During our two-week trip, we withdrew about ¥100,000 for our family of four, mainly for topping up our IC cards, paying for taxis, and smaller restaurants and shops.
Re-packing: Plan Ahead
Plan for re-packing in your itinerary, especially if you have kids. We spent a good hour re-packing every time we changed hotels, which can impact your schedule if it’s tight.
Long Days
During our two-week stay, we usually left around 8-9am and didn’t return until 9-10pm. On days when we visited theme parks, we started around 7am and got back around 11pm.
Washing Machines
All the hotels we stayed at had coin laundry facilities. It cost about ¥500 for a two-hour wash and dry cycle, with an extra charge for extra drying time. These machines were always busy, so I had to wake up early (around 3-4am) to find an empty one. Only once did we find availability around 10pm, likely because we returned so late. You have better luck if you come back earlier.
Luggage Forwarding
For convenience, we used luggage forwarding from Osaka to Tokyo and travelled with just our carry-ons while visiting Kyoto. This made our trip from Osaka to Kyoto and Kyoto to Tokyo much more convenient.
Shinkansen (Bullet Train) Booking
I agree with most advices on booking Shinkansen tickets on the day of travel, as long as you don’t mind not getting row E (row D in green cars), where you have a window seat and can see Mt. Fuji, or if you don’t have oversized luggage. This approach gives you more flexibility with timing. But, it comes with risks. For example, the day before our planned travel, a typhoon caused all Shinkansen services to be suspended, resuming only on our travel day. This made it much busier with less availability. We ended up traveling in the green car and had to sit separately, which isn’t ideal if you’re traveling with kids.
Itinerary: Don’t Over Plan
Don’t over plan and try to fit too much into one day, especially if you’re traveling with kids. We had to cut down on some activities because the kids were too tired from all the walking.
Itinerary (Part 2)
Since it was our first trip to Japan, we wanted to cover as many key attractions as possible. But, younger kids not be as interested in cultural attractions like temples or shrines. They just want to take a photo and move on. Not all kids appreciate the culture, at least mine didn’t. So, it be worth prioritising must-see attractions and skipping the ones that are just nice to see. A mix of planning and going with the flow worked best for us.
Itinerary (Part 3)
I’m a planner and like to have a detailed schedule, but that didn’t always go well. We had to make a lot of changes and adaptations because we spent too much time browsing along the way to attractions. Flexibility is key.
Food Budget
We budgeted ¥500 for breakfast, ¥1500 for lunch, and ¥2000 for dinner per person. Overall, we managed to stick to that budget. But, if you plan to visit theme parks or theme restaurants, double your budget for the day.
Shopping
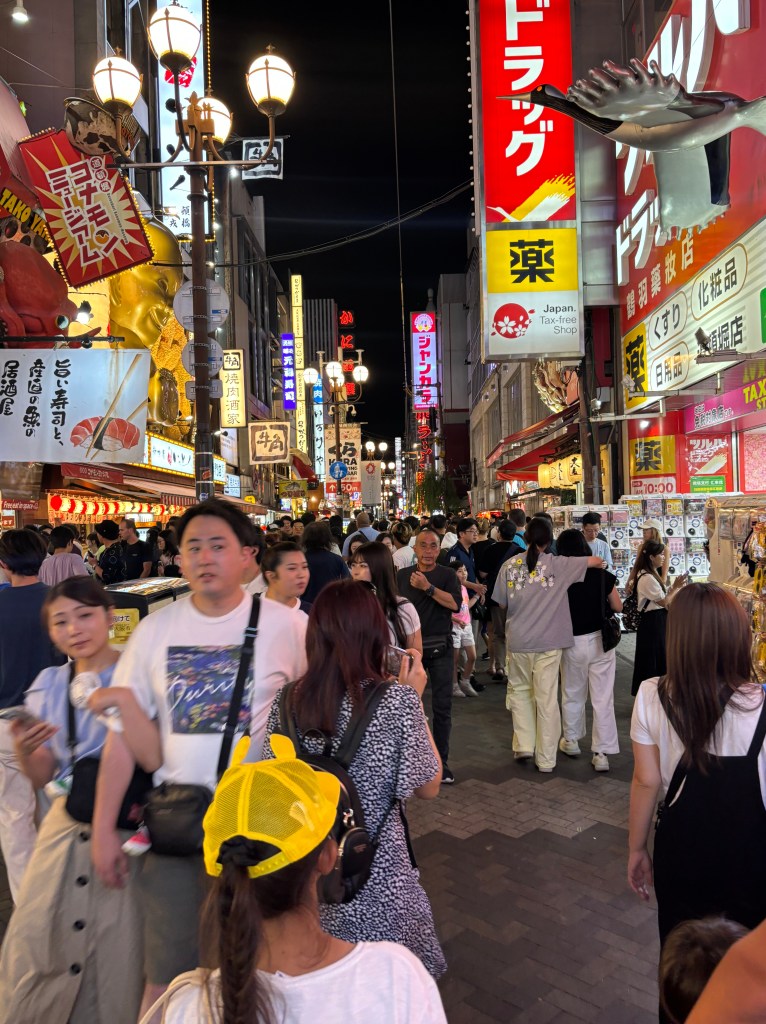
Everyone kept saying Don Quijote (Donki) is the place to go, and there’s no doubt about it. It’s scattered everywhere and is great for buying gifts. Other shops worth visiting are Daiso and Seria, both ¥100 shops. My wife complained that I only took her there on the last day when she didn’t have much time to browse. She said next time we go, she wants to spend more time in Seria. What sets Seria apart from Daiso is that the products from Seria are more ‘classy’.
Vending Machines: A Summer Essential
Vending machines were a godsend, especially in the hot weather of July and August. They are a great way to use up your coins, but note that the largest note they accept is ¥1000. We used them more often in Osaka and Kyoto, as we spent more time indoors in malls while in Tokyo.
Thank you for joining us on this journey through our latest updates, reviews, and recommendations. We hope you found the insights valuable and engaging. To stay in the loop with our day-to-day updates and never miss out on our latest content, be sure to follow us. Your support and feedback are what drive us to keep delivering quality content.
Stay tuned for more exciting reviews and recommendations coming your way. Don’t forget to subscribe and share your thoughts in the comments below. We look ahead to connecting with you!


Leave a comment